
Introducing Reverie - A ridiculously elegant Jekyll theme
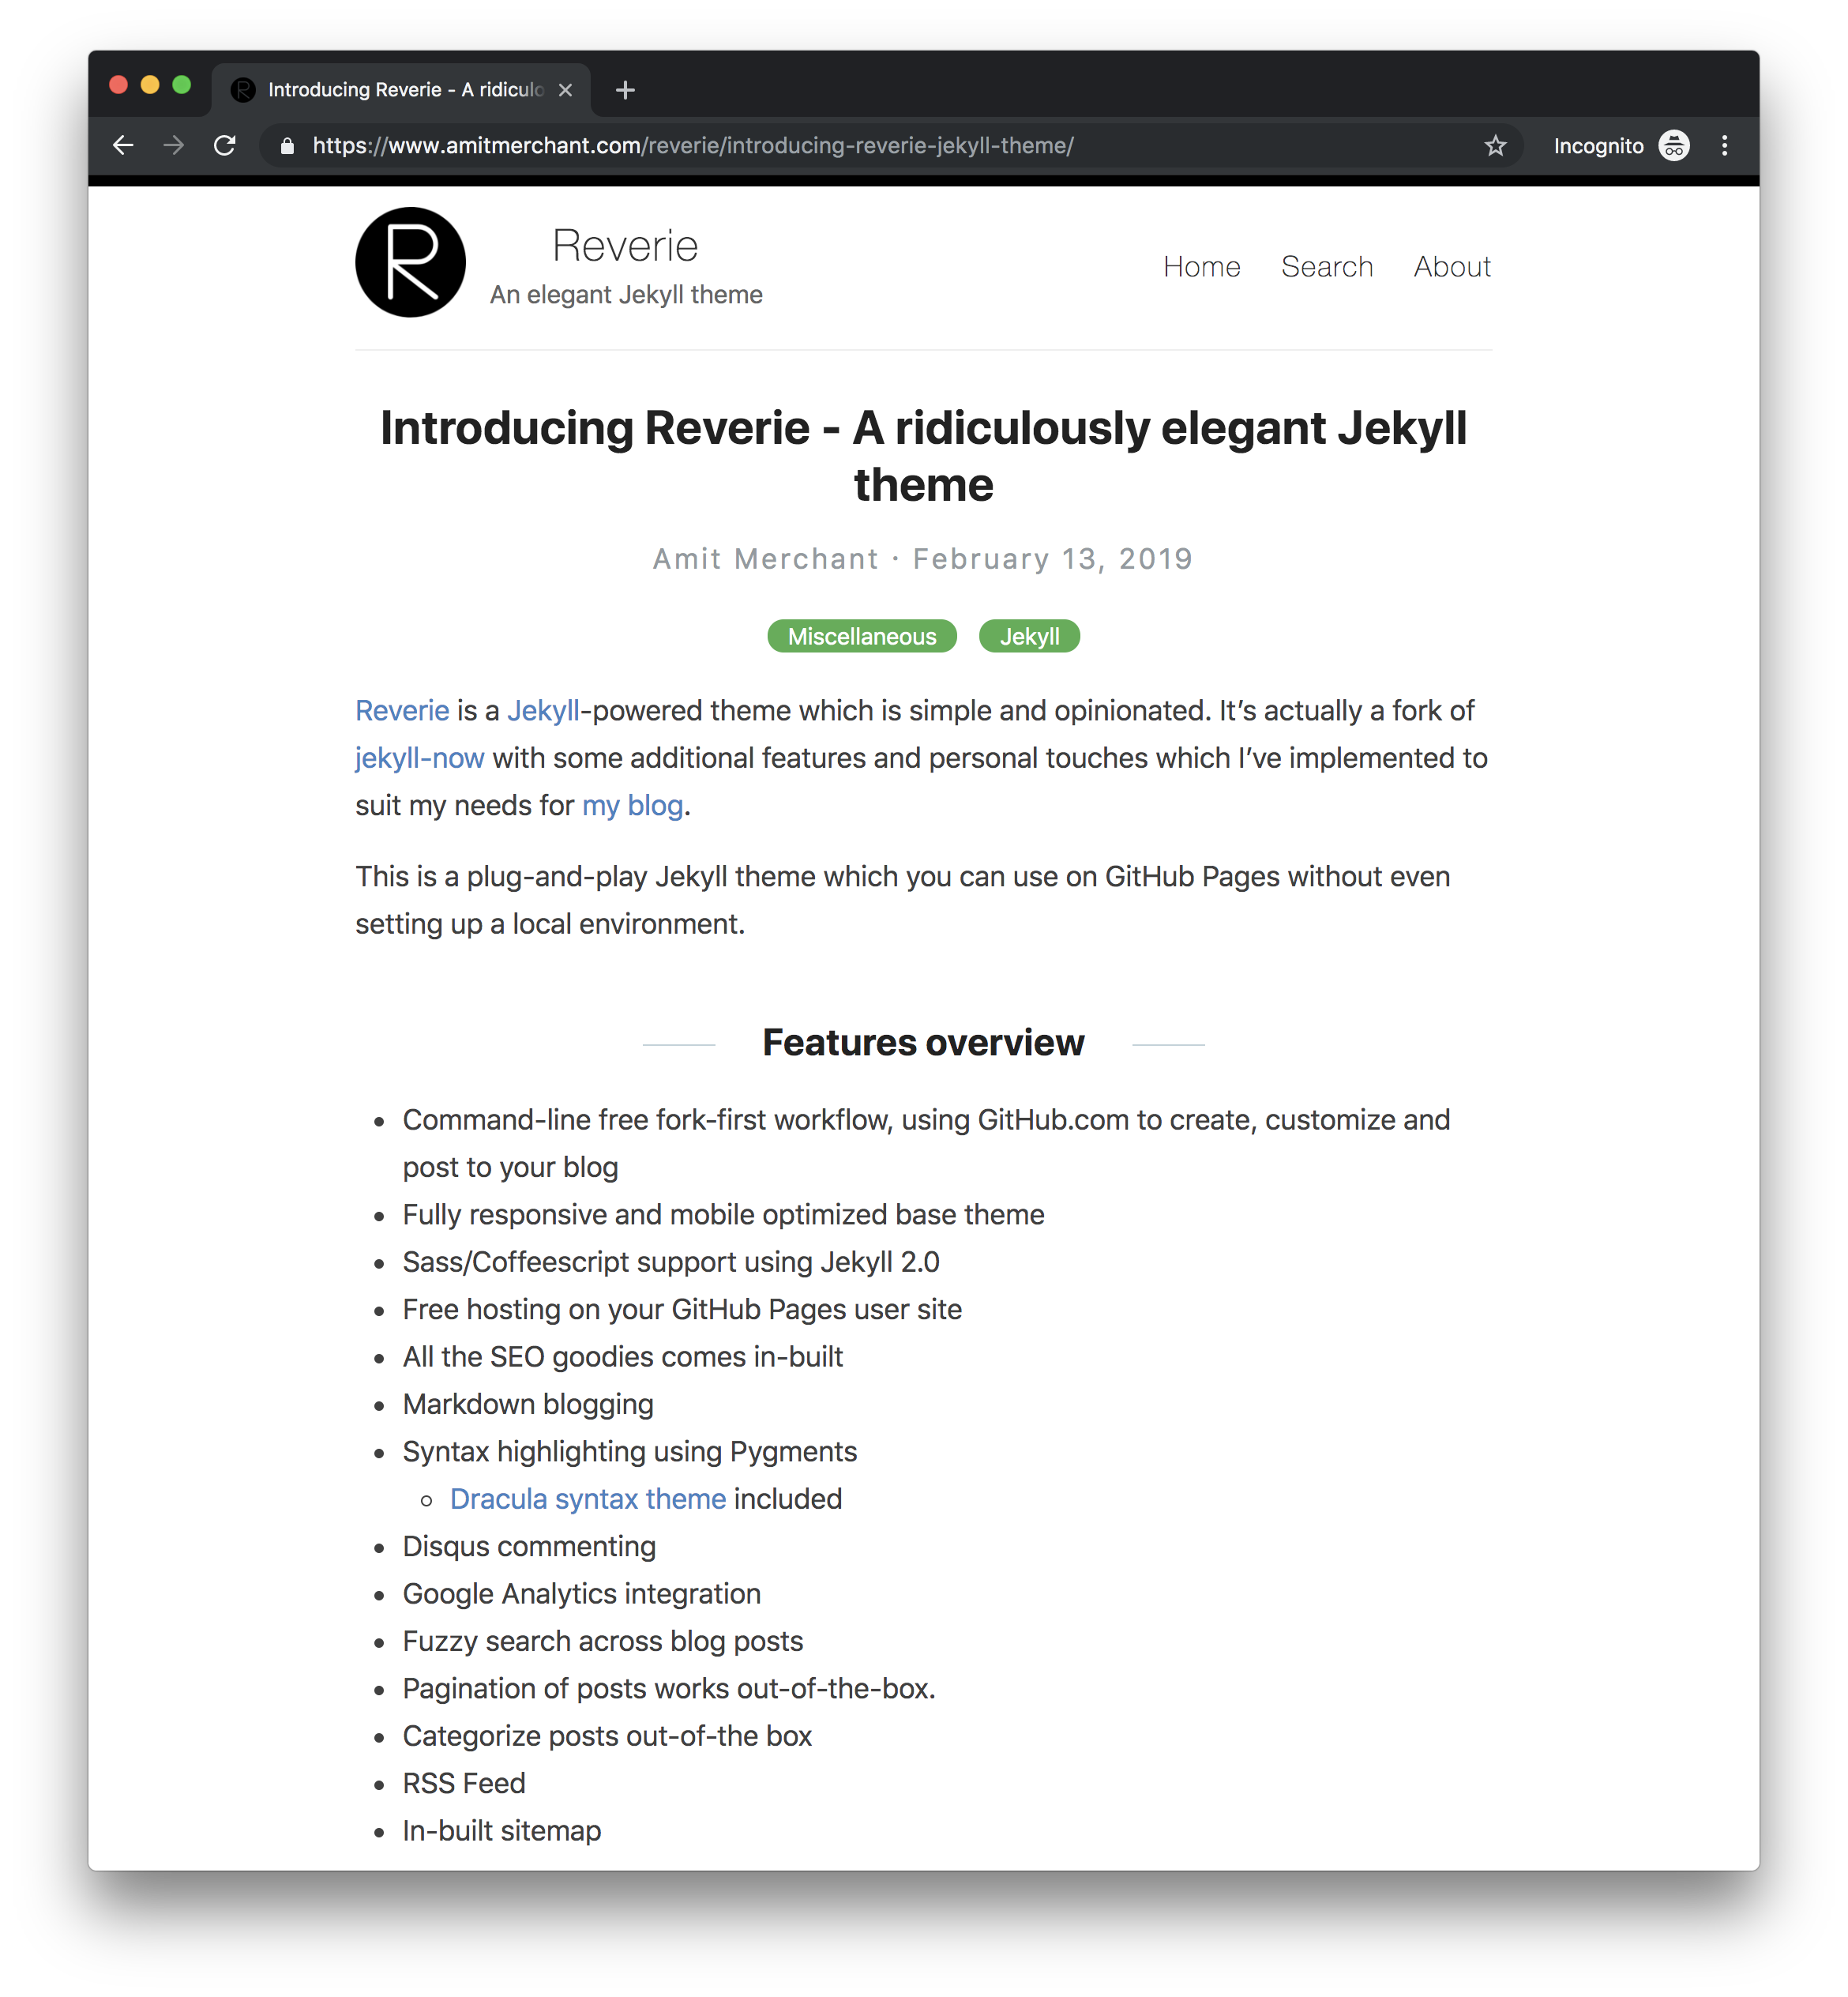
[Reverie](https://github.com/amitmerchant1990/reverie) is a [Jekyll](https://jekyllrb.com/)-powered theme which is simple and opinionated. It's actually a fork of [jekyll-now](https://github.com/barryclark/jekyll-now) with some additional features and personal touches which I've implemented to suit my needs for my blog.
This is a plug-and-play Jekyll theme which you can use on GitHub Pages without even setting up a local environment.
## Features overview
- Command-line free fork-first workflow, using GitHub.com to create, customize and post to your blog
- Fully responsive and mobile optimized base theme
- Sass/Coffeescript support using Jekyll 2.0
- Free hosting on your GitHub Pages user site
- All the SEO goodies comes in-built
- Markdown blogging
- Syntax highlighting using Pygments
- [Dracula syntax theme](https://draculatheme.com/) included
- Disqus commenting
- Google Analytics integration
- Fuzzy search across blog posts
- Pagination of posts works out-of-the-box.
- Categorize posts out-of-the box
- RSS Feed
- In-built sitemap
## Using Reverie on GitHub Pages
### Step 1) Fork Reverie to your User Repository
Fork [this repository](https://github.com/amitmerchant1990/reverie), then rename the repository to `yourgithubusername.github.io`.
Alternatively, you can use [Use this template](https://github.com/amitmerchant1990/reverie/generate) button if you want to create a repository with a clean commit history which will use Reverie as a template.
Your Jekyll blog will often be viewable immediately at (if it's not, you can often force it to build by completing step 2)
### Step 2) Customize and view your site
Enter your site name, description, avatar and many other options by editing the `_config.yml` file. You can easily turn on Google Analytics tracking, Disqus commenting and social icons here.
Making a change to `_config.yml` (or any file in your repository) will force GitHub Pages to rebuild your site with jekyll. Your rebuilt site will be viewable a few seconds later at - if not, give it ten minutes as GitHub suggests and it'll appear soon.
### Step 3) Publish your first blog post
Create a new file called `/_posts/2019-2-13-Hello-World.md` to publish your first blog post. That's all you need to do to publish your first blog post! This [Markdown Cheatsheet](https://github.com/adam-p/markdown-here/wiki/Markdown-Cheatsheet) might come in handy while writing the posts.
> You can add additional posts in the browser on GitHub.com too! Just hit the Create new file button in `/_posts/` to create new content. Just make sure to include the [front-matter](http://jekyllrb.com/docs/frontmatter/) block at the top of each new blog post and make sure the post's filename is in this format: year-month-day-title.md
## Using Categories in Reverie
You can categorize your content based on `categories` in Reverie. For this, you just need to add `categories` in front matter like below:
For adding single category:
```md
categories: JavaScript
```
For adding multiple categories:
```md
categories: [PHP, Laravel]
```
The contegorized content can be shown over this URL: . You can see the example RSS feed over [here](https://www.amitmerchant.com/reverie/feed).
## Sitemap
The generated sitemap of your blog can be found at . You can see the example sitemap feed over [here](https://www.amitmerchant.com/reverie/sitemap).
## License
MIT